Blog · Mason Bees · Newsletter · Bee Care ·
Is your bee house empty?

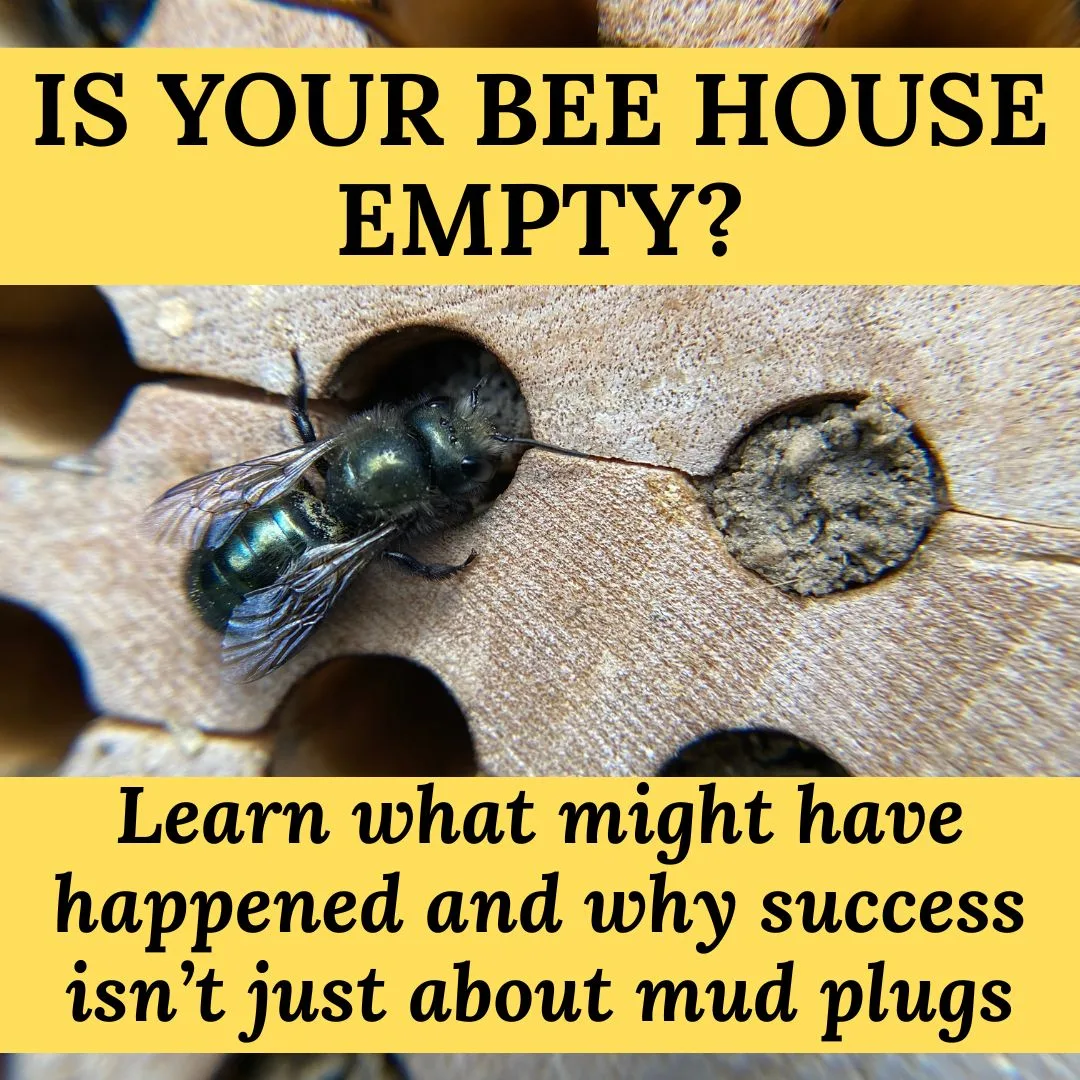
We know it can be disappointing when your mason bees don’t nest in your block as you hoped. But true success isn’t measured by how many holes get filled—it begins the moment you release these gentle pollinators into your garden. By setting them free, you’ve taken a meaningful step to support your local environment, encourage pollination, and help native bee populations thrive. That is success—and something to be proud of.
Mason bees are extraordinary pollinators. Releasing them into your yard boosts your ecosystem: your trees and flowers benefit, the soil becomes more stable, the air gets cleaner, and the native solitary bee population grows—especially important as urban development continues to shrink their natural habitats.
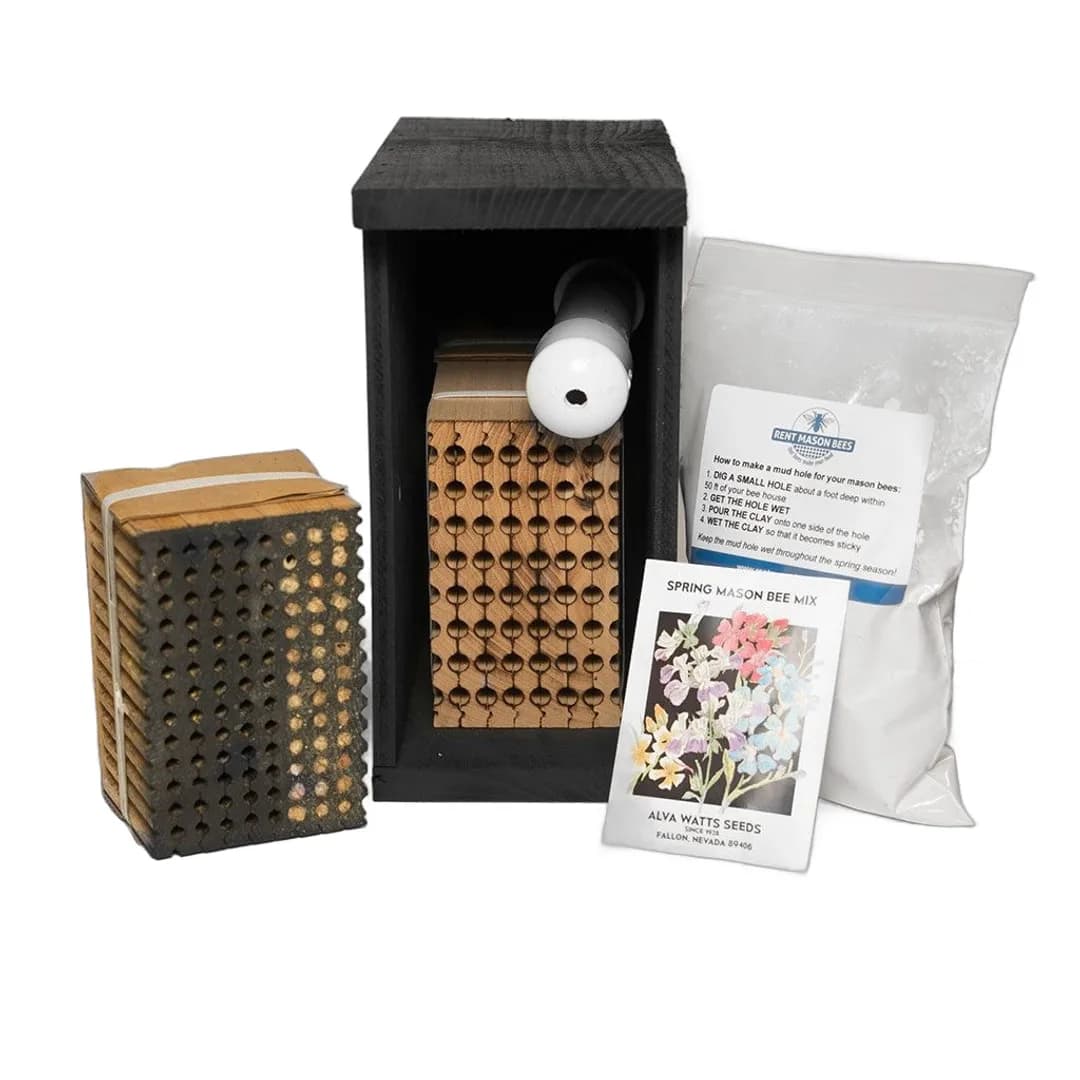
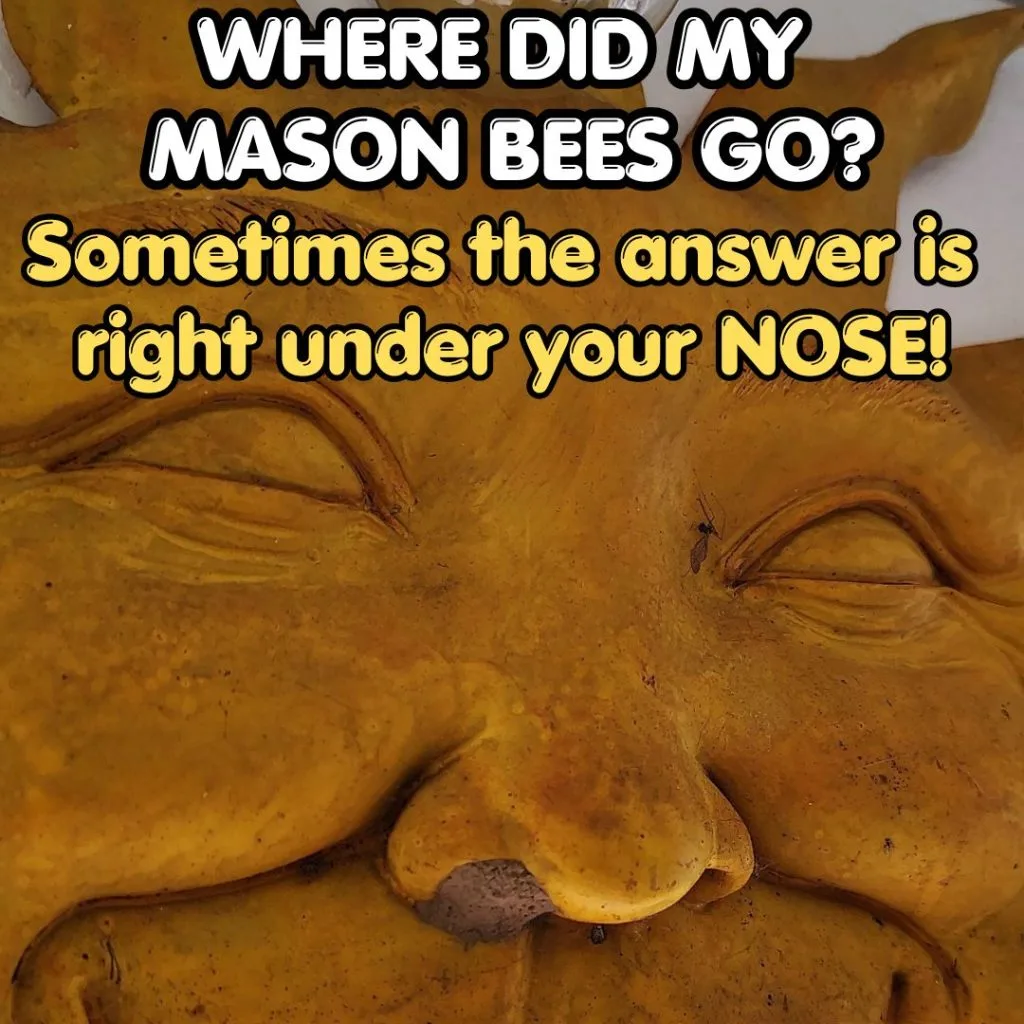
Although we scent your nesting block to encourage bees to return, their instincts sometimes lead them to other inviting spots. Mason bees may choose to nest in rock walls, woodpecker holes, watering cans, outdoor furniture, power outlets or even deck umbrellas! Keep an eye out for mud plugs in unexpected places—your bees might be busy behind the scenes, doing exactly what nature designed them to do.
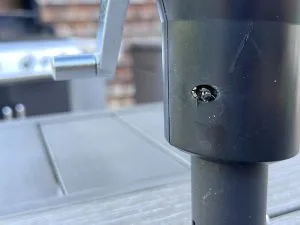
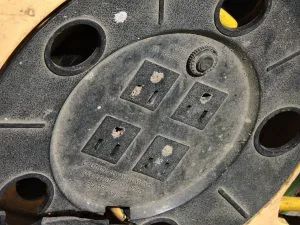
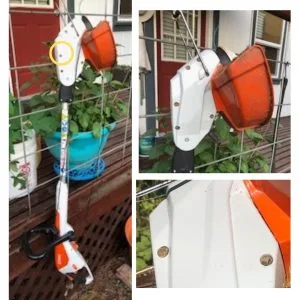
Top Reasons Your Mason Bees Didn’t Nest in Your Bee House
Here are the most common reasons they might not have nested in your provided nesting materials:
1. They Emerged, But Found Other Nesting Sites
The boys emerge first and then the girls 1-2 weeks later. The girls don’t start nesting until they are fertilized. While they’re giving “piggy-back-rides” to the boys, they may find other nooks and crannies for nesting. Mason bees are opportunistic nesters and may find other suitable holes nearby. If your habitat is rich in options, they’ll explore!
2. Weather Is a Major Factor
Cool, rainy, or unpredictable spring weather can delay or disrupt mason bee emergence and nesting. These bees rely on consistent daytime temperatures above 55°F to forage, mate, and begin nesting. Windy days, heavy rain, or sudden cold snaps can throw off their natural rhythm—causing them to shelter longer or search for alternate nesting sites once conditions improve.
3. They Emerged While in the Fridge or Shipping Box
If bees were refrigerated too long or warmed during transit, they may have emerged early. Always check the release tube before storing, and get them outside promptly if they’ve started emerging.
4. Lack of Immediate Food Sources
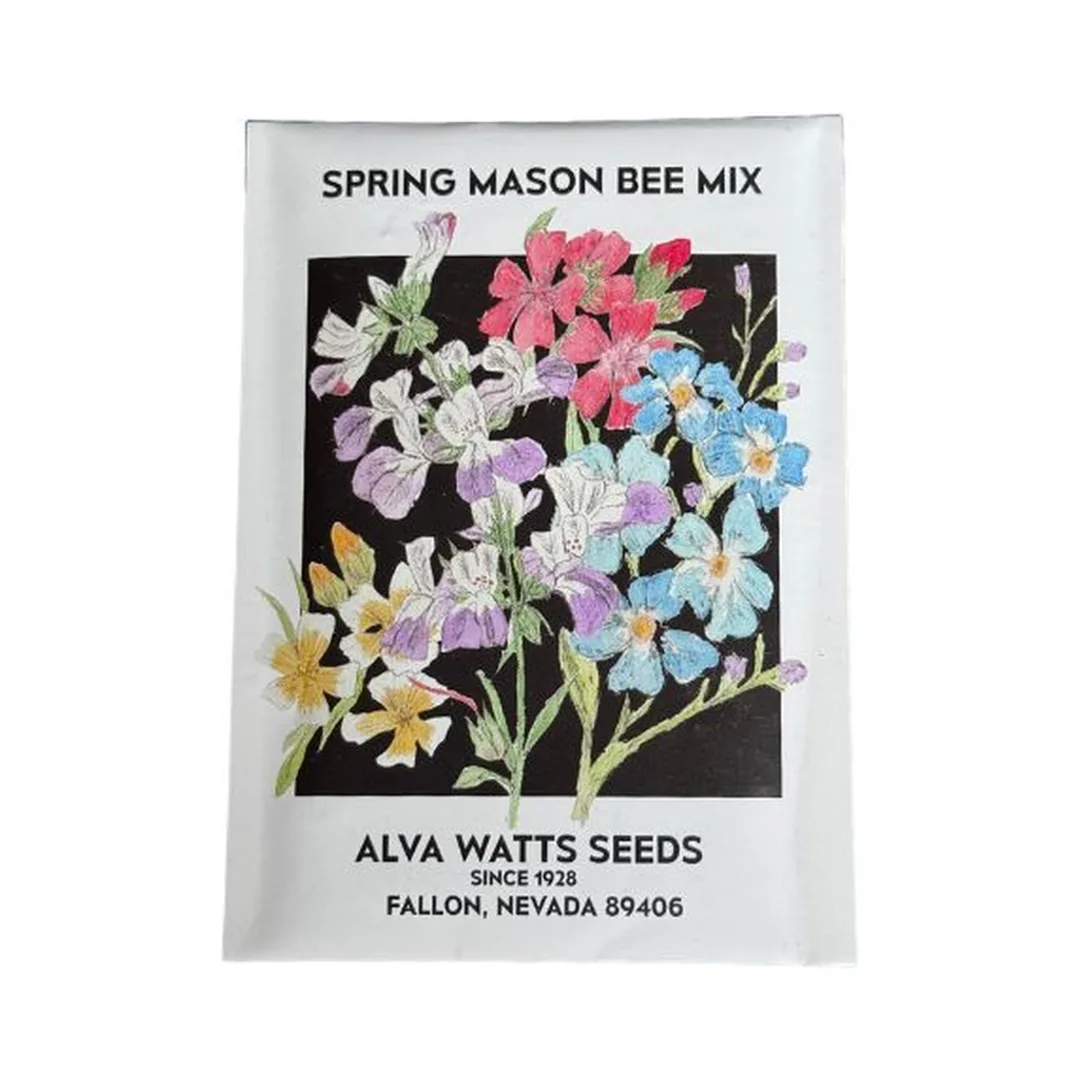
Mason bees need pollen and nectar the moment they emerge. If flowering plants weren’t blooming nearby, they may have flown off in search of food and nested closer to it. Learn what to plant by visiting Pollinator.org They have gorgeous Garden Cards – Find your region https://www.pollinator.org/gardencards
5. Exposure to Pesticides
Even small amounts of herbicides or insecticides—used by you or nearby neighbors—can deter or kill bees. Always avoid spraying during bloom and near nesting sites.
6. Birds or Other Predators
Birds that feed on flying insects (like swallows or flycatchers) can reduce bee activity. If your area is a hotspot for these birds, some bees may not make it back to the block.
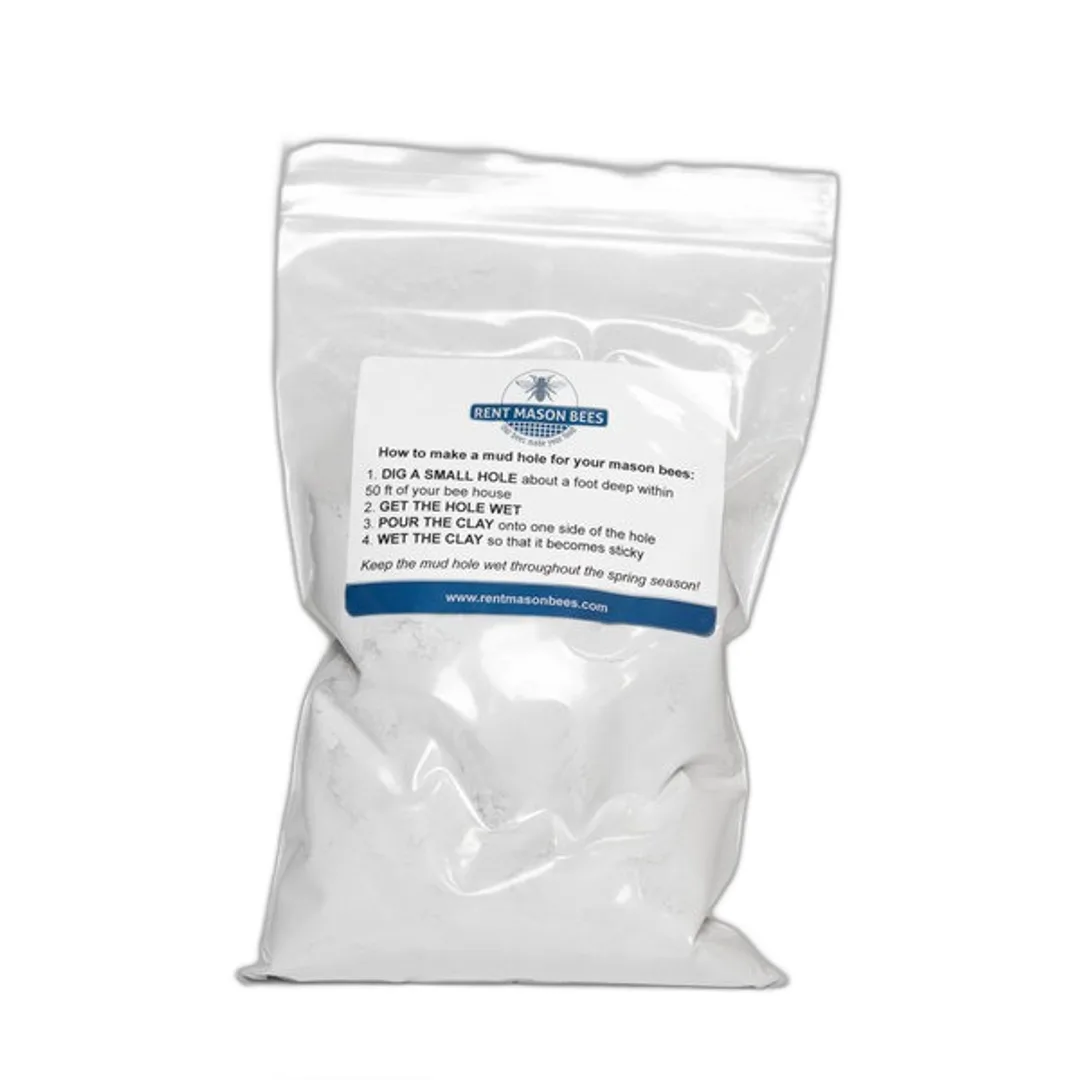
7. No Access to Clay for Nest Building
Mason bees rely on sticky, muddy clay to build the protective walls in each nest chamber. If no clay source is nearby, they may travel further to find it—and nest along the way.
BECOME A CITIZEN BEE SCIENTIST
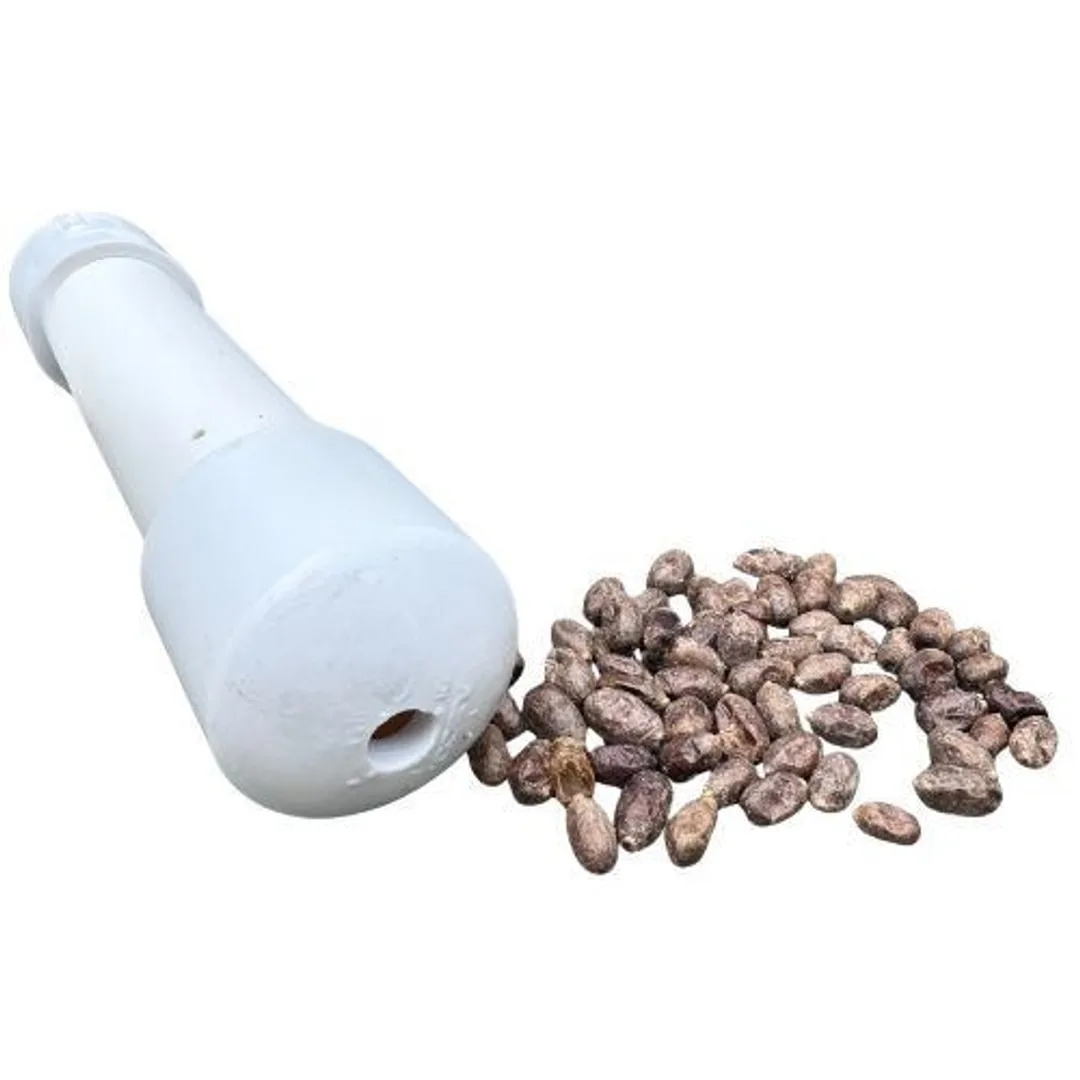
Let’s investigate your PVC tube:
-
Dump the contents onto a paper towel.
-
If the cocoons are empty, your bees emerged—great news!
-
If some are unopened, set them aside and watch the video below to learn how to snip the tip and check for viable bees or mono wasps.
If all your cocoons are empty, your bees emerged and found alternate nesting spots in your yard. This is a great sign that your habitat is thriving!
If you provided warm sun, clay, food, and no sprays, then you did everything right. Your bees may have just found irresistible natural options.
Here is a step-by-step video to show you how:
WHAT TO DO NEXT
Still seeing activity? Great—wait a bit longer before removing your block.
If there’s no more bee activity, you can now gently remove the nesting block and store it in your shipping box in a safe, dry place.
Do not ship it back until September—your bees are still developing inside, and they won’t be safe to ship until cocoons are fully formed.
Click here to read our blog on next steps for storing your nesting block. Click here

THANK YOU FOR SUPPORTING SOLITARY POLLINATORS!!